 My dad is a “do-things” guy.

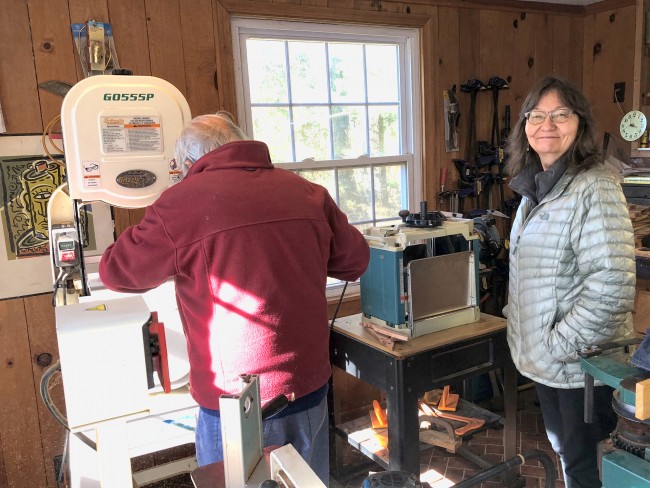
At 90, he roasts and grinds his coffee, makes bialys, bagels, bread and pies, fixes everybody’s computers, tends his stunning 1+ acre native plant garden in Richmond, Va. …..

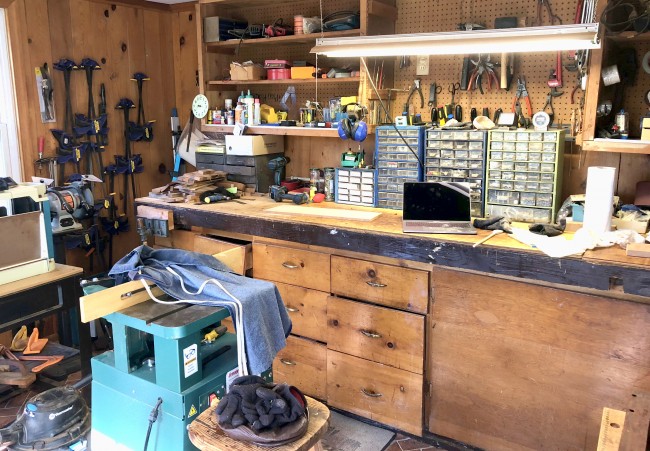
And he has a shop (that he built) where he crafts furniture, cutting boards and kitchen utensils.
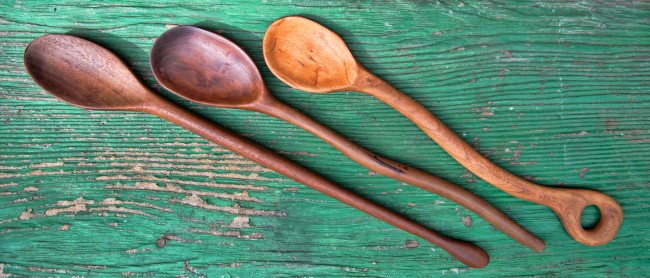
 So as part of my quest to learn to do things, spoon-making/carving in particular … my sister, Janet and I enlisted his help while visiting a couple weeks ago. Mind you, I am not new to make-do spoon crafting. It’s something I take a notion to do every twenty years or so, as you can see in this photo.
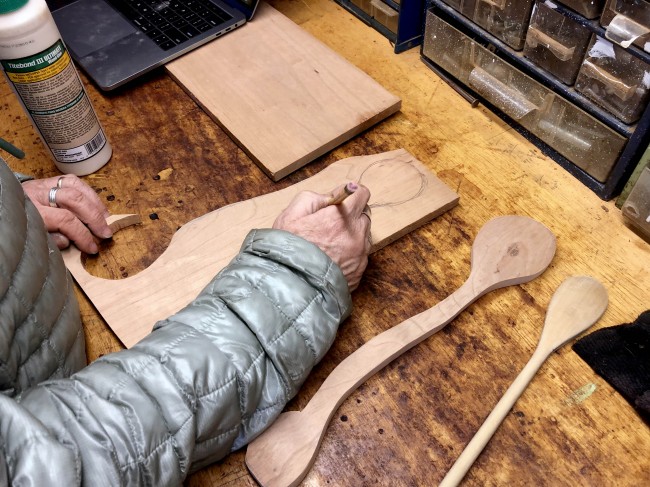
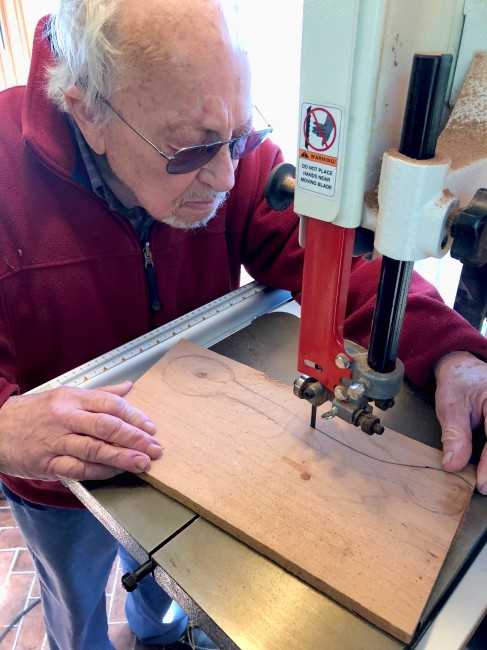
And quite honestly, I have NO idea what I’m doing. For now. In the immediate future I plan to get me a good hatchet and commence to learn the art of Swedish green-wood carving. In the meantime, here’s how I made this spoon. Believe me, if I can do it, so can you! All you need is a friend with a jigsaw and maybe some rasps to help you get started. First, you will need to draw a picture of the spoon you want on a piece of non-toxic native wood. We are using cherry for our spoons.
If you are right handed, you will want to flip the curved spoon over and have the curve point toward the right. I figured that out after I unintentionally made a left-handed spoon.
Then, you give this drawing to your dad/friend with a band saw or smaller jigsaw to cut out.
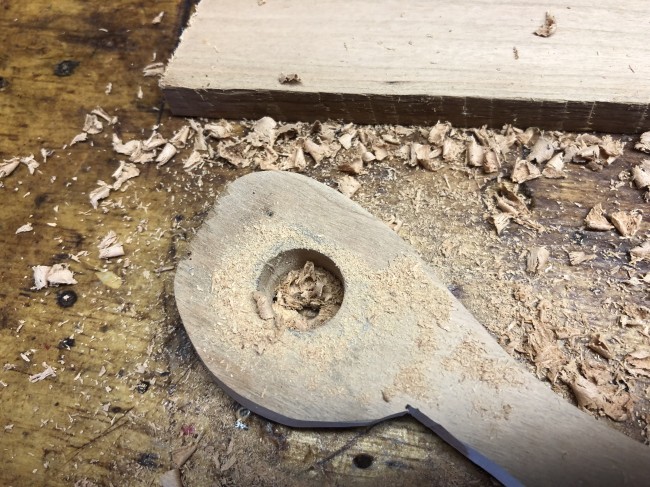
Now, you drill a hole in the handle end because you will want to hang your lovely rustic spoon.
And then you will collect a few rasps … a round one (for the hanging hole), a medium one and a finer one with a rounded back.
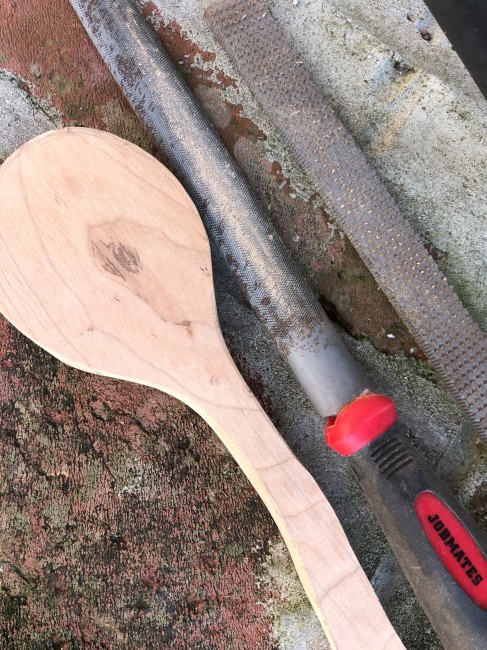
Then you will sit in the sun out in the yard and start rasping the square edges off your spoon. Or in the case of Janet, who will do something different because her husband Roger (the do-things with tools guy who is teaching my daughter, Annie to blacksmith) says “there is a WAY easier way to finish off your spoon!” Evidently, as you will see I do not know what that is. Anyway, rasping is fun and you can quickly round out your spoon and handle starting with the rough rasp and finishing with the finer one.
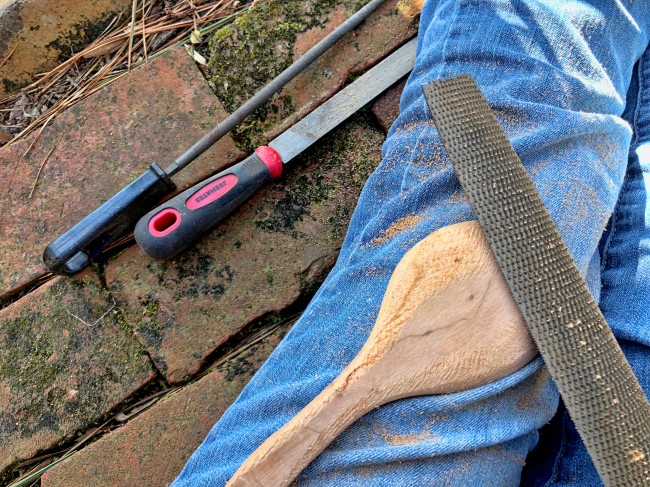 If you were smart, you would have ignored my instructions and clamped the piece of wood with your spoon drawing with a vice and gouged out the bowl innards before cutting out the spoon shape. Because once your spoon is cut, it is not really clampable. So now you have to figure out some other way to scoop out the bowl. Which is ridiculously difficult and dangerous with dry hardwoods like cherry combined with ignorance (mine not yours of course). Before, when I made my other two spoons, I found someone with a dremel tool to carve out the bowl, but this time, I experimented with sharp knives. Here is my arsenal:

The spoon hook on the left would work great with green wood but not with dry (with my lack of skills anyway) so I gouged wee divits with the little tiny spoon hook in the middle and then used the larger spoon hook to carve out the ridges. I used the carving knife to round out and fine-tune the handle hole. The kevlar gloves are a good idea when learning to carve. Once everything is smooth and shaped, the sanding begins. I found this nifty little flexible yellow sanding gizmo at Lowes and started with 80 grit, then moving on to whatever I could scrounge around here that included 150, 220 and finally 400 grit. I like my spoons super smooth. Now, dip the spoon in water to raise the grain and when dry, sand again. Rub some oil (don’t tell anybody but I used roasted walnut oil) on your spoon and you are good to go!
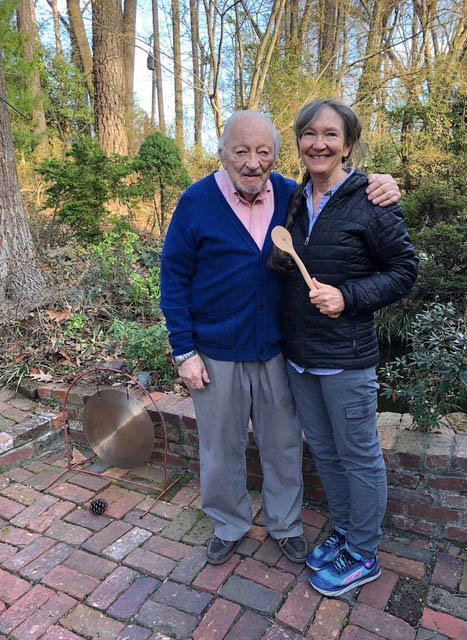
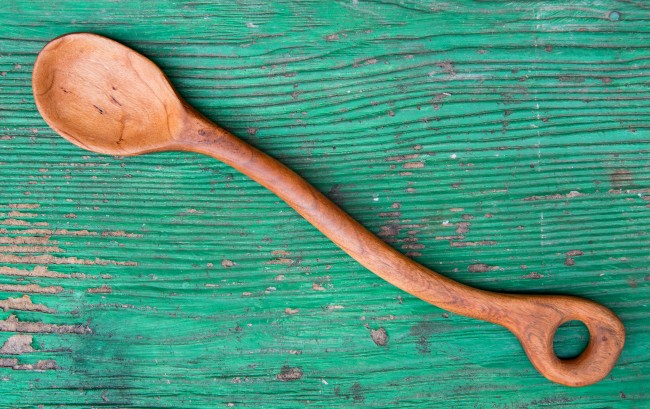
I did it! But as much as I appreciate my new spoon, the best part of this “how to do things” adventure has been spending time with my dad, hearing his stories, laughing with him, watching him cut out my spoon with a big scary tool that he still commands. Learning to do things is so much more fun when your mentor is someone you love. Thanks Dad … it’s you I’ll think of when ‘er this spoon stirs our soup!
PS: Safety note: Before using carving tools, please take an introductory woodcarving class or have a wood carver instruct you in proper carving techniques! …I’ve done this in the past and plan to learn so much more. And while you’re at it, inform yourself about which wood species are food safe and which to leave be. Cherry, maple, apple, birch are spoonable. As are other woods. I’ll do some more research and report back to you about other recommended species.
Hi Barbara,
Rick and I were having a conversation this morning and your family came up. I Google Wayne’s name and found your website. Looks like y’all are doing well.
Just a quick “hello” from Texas.
Jennea
Oh my goodness, so wonderful to hear from you Jennea! Let’s catch up.
Hi Barbara,
This is my favorite post of yours! Your dad seems like a wonderful man, and what a blessing that he is so active at 90! It’s inspiring, actually, and makes me want to be more active at 35, haha! Your spoons you made are beautiful! Wish I could have a try at it.
Jamie
I live in Mechanicsville, VA and it’s nice to find someone who is interested in old skills. I’m a woodcarver. I look forward to seeing more of your articles.
Pattie Peace